The first time I changed my motorcycle oil, I was so nervous about whether I could do it. Then I learned how to change motorcycle oil, and I started to change my motorcycle oil regularly. My motorcycle has a double stand, so it is easy for me to change the engine oil. With some basic tools, you can easily change your motorcycle oil too.
Now I’ll be talking about how to change motorcycle oil, why you should change it at home, and other important details you need to know. So, let’s get started!
How to Change the Motorcycle Oil
Before you start, make sure you have the following on hand:
- Motorcycle oil – check your owner’s manual for the correct grade and recommended volume.
- Replacement oil filter
- Drain plug washer
- Socket wrench
- Torque wrench
- Drain pan
- Oil filter remover tool or filter wrench
- Funnel
- Rear paddock stand (if your bike lacks a center stand)
- Protective gloves
- Rags
Why Should You Change Oil at Home?
There are many reasons to change oil at home. First, you save a lot of money. Second, you save a lot of time. When you go to a mechanic shop, they often take a lot of time.
Step 1: Warm Up the Engine
Start by turning on your motorcycle and letting it idle for about ten minutes, or take it for a short five-minute ride. Once the engine is warmed up, put the bike on its stand and wait a few minutes to let the oil settle.
Step 2: Drain the Oil
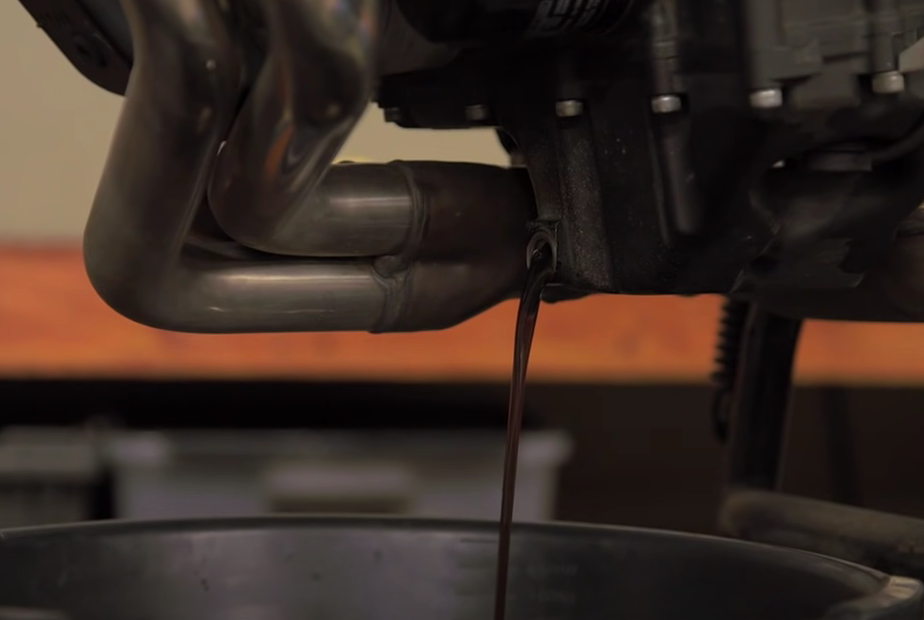
Locate the drain bolt on your motorcycle. Position your drain pan underneath the bolt, keeping in mind that the oil may flow out quickly and forcefully. Use a socket wrench to gradually loosen the drain bolt, but don’t remove it entirely yet. Once it’s loose, finish unscrewing it by hand and remove the plug, allowing the oil to drain into the pan. Try to keep hold of the plug as the oil flows out.
Step 3: Replace the Filter
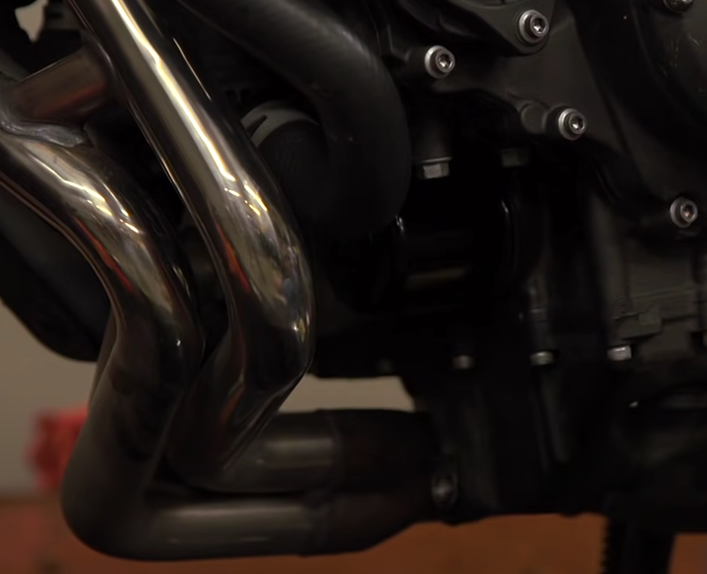
Use a filter wrench or filter removal tool to unscrew the old filter. Pour any remaining oil from the filter into the drain pan. Clean the filter seal area with a rag. Before installing the new filter, apply a small amount of clean oil to the sealing O-ring. Screw the new filter on by hand, tightening it only half to three-quarters of a turn after the O-ring touches the seal to avoid damaging it.
Step 4: Replace the Drain Plug
Clean the drain plug and replace its washer. Use a torque wrench to securely tighten the drain plug.
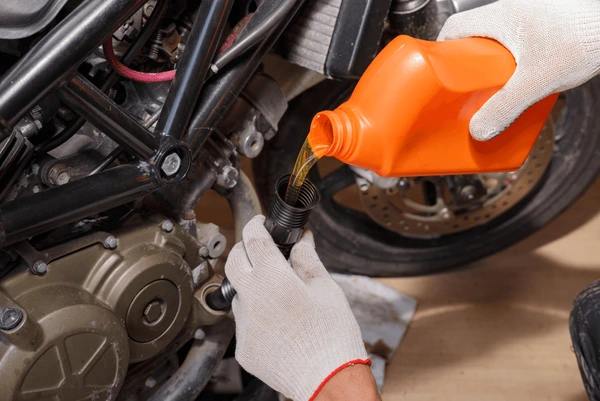
Step 5: Top Up the Motorcycle Oil
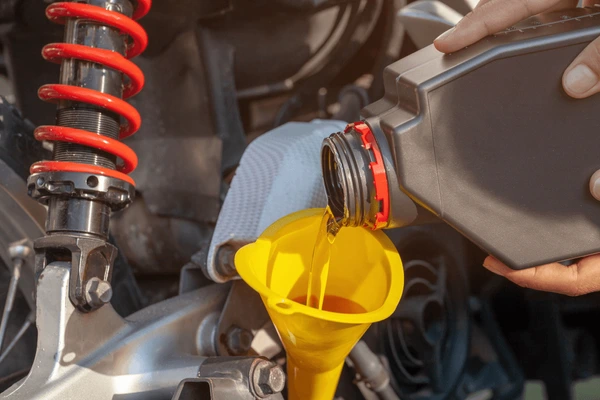
Locate the oil fill intake and remove the cap. Insert a funnel and slowly pour in the new oil, checking the level with a sight gauge or dipstick. Once you’ve added the correct amount, screw the cap back onto the intake.
Step 6: Check Your Oil Level
Start the engine and let it idle for another five minutes. Check the oil level again and add more if necessary. Finally, make sure to dispose of the old oil responsibly.
If you don’t know which oil is right for your bike, please check your motorcycle owner’s manual