In today’s world, motorcycles deliver power comparable to that of small cars, all through the drive chain. However, neglecting proper chain maintenance can drastically reduce the lifespan of both your chain and sprockets. Regular lubrication and cleaning are essential to prevent road grime from damaging your chain, which could otherwise lead to a breakdown and an unwanted wait for a tow truck.
Chain maintenance is crucial yet often overlooked. If your current routine involves only occasional pressure washing and sporadic lubrication, this guide is designed for you. By the end, you’ll have the foundational knowledge to enhance your chain care, prolonging the life and enjoyment of your motorcycle.
Note: This guide is intended for beginners. Always refer to your owner’s manual for specific maintenance intervals and methods, as it takes precedence over general advice.
Inspecting Your Chain: What to Look For
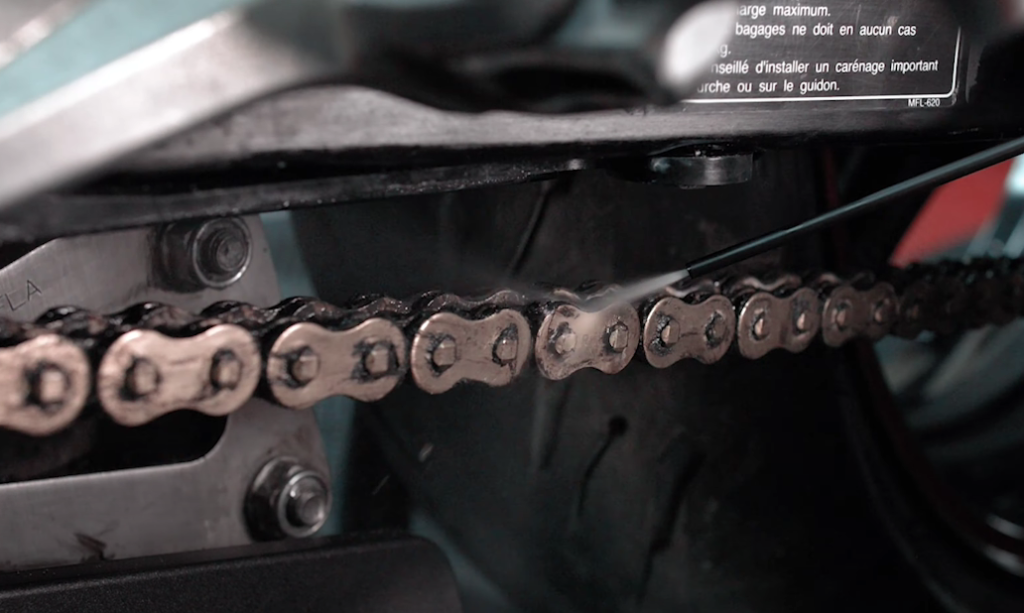
A quick inspection of your chain should be part of your pre-ride routine. Here’s what you should check for:
- Kinked or stuck links: These usually indicate poor lubrication or worn-out seals. If you find them, it’s time to replace the chain.
- Rust: Surface rust can often be cleaned off with a thorough scrubbing, but if you see pitting or if the rusted links are stiff, you’ll need a new chain.
- Vertical free play: This refers to how much the chain can move up and down. Your owner’s manual will specify the correct tension, so adjust it as needed.
- Horizontal play: If you can pull the chain away from the rear sprocket by more than half an inch, the chain or sprockets are worn and should be replaced.
- Sprocket teeth wear: Check that the sprocket teeth are flat on top and have a smooth curve. If the teeth are worn or “hooked,” it’s time to replace both the chain and sprockets.
Cleaning and Lubricating Your Chain
How Often Should You Do It?

A good rule of thumb is to clean and lube your chain every 400 to 800 miles, or about every two weeks for regular riding. If you ride off-road, you should clean your chain after each dirty ride.
What You’ll Need
- Chain cleaner: Clear kerosene is popular and inexpensive. Avoid harsh chemicals. If you use a brand-name cleaner, look for one that’s safe for chain seals.
- Brush or cloth: Use a soft nylon brush or a microfiber cloth to scrub the chain. Avoid wire brushes, as they can damage the chain’s seals.
- Chain lube: There are many types available. Apply a thin, even coat. Over-lubing can attract dirt, so be sure to wipe off any excess.

Step-by-Step Cleaning
- Apply the cleaner to the chain while it’s still warm, about 10 to 20 minutes after a ride.
- Scrub the chain with a soft brush or cloth.
- Rinse with clean water and wipe dry, or just wipe dry if water isn’t available.
- Apply a thin layer of lube, making sure it covers the entire chain.
- Wipe off any excess lube to prevent dirt buildup.
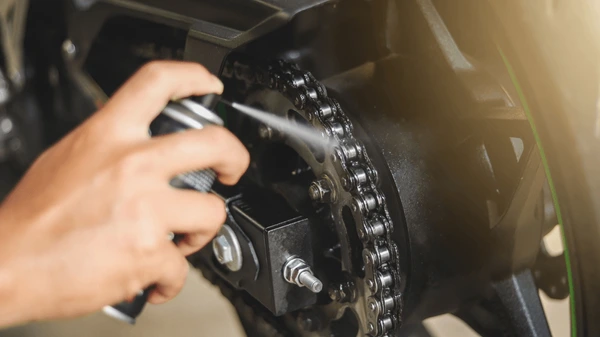
Preventing Damage During Lubrication
Be careful not to get lube on your rear tire, as it can make your bike unsafe to ride. Use a piece of cardboard or another barrier to protect the tire when spraying.
When to Replace Your Chain
If you maintain your chain properly, it should last for many miles. However, if you notice binding links or significant wear on the sprockets, it’s time for a replacement.
Even if your sprockets seem fine, it’s best to replace them along with the chain. Worn sprockets can quickly wear down a new chain, shortening its lifespan.
Cost of Replacement
The cost of a new chain and sprockets varies depending on your bike. For most dirt bikes, expect to pay between $100 and $160 for a full set. For high-performance street bikes, like a BMW M1000 RR, the cost can be much higher, reaching up to $700 or more.
Final Tips
If you’re new to bike maintenance, consider having a professional replace your chain and sprockets. While it’s possible to do it yourself, a shop will have the right tools and expertise to ensure everything is done correctly.